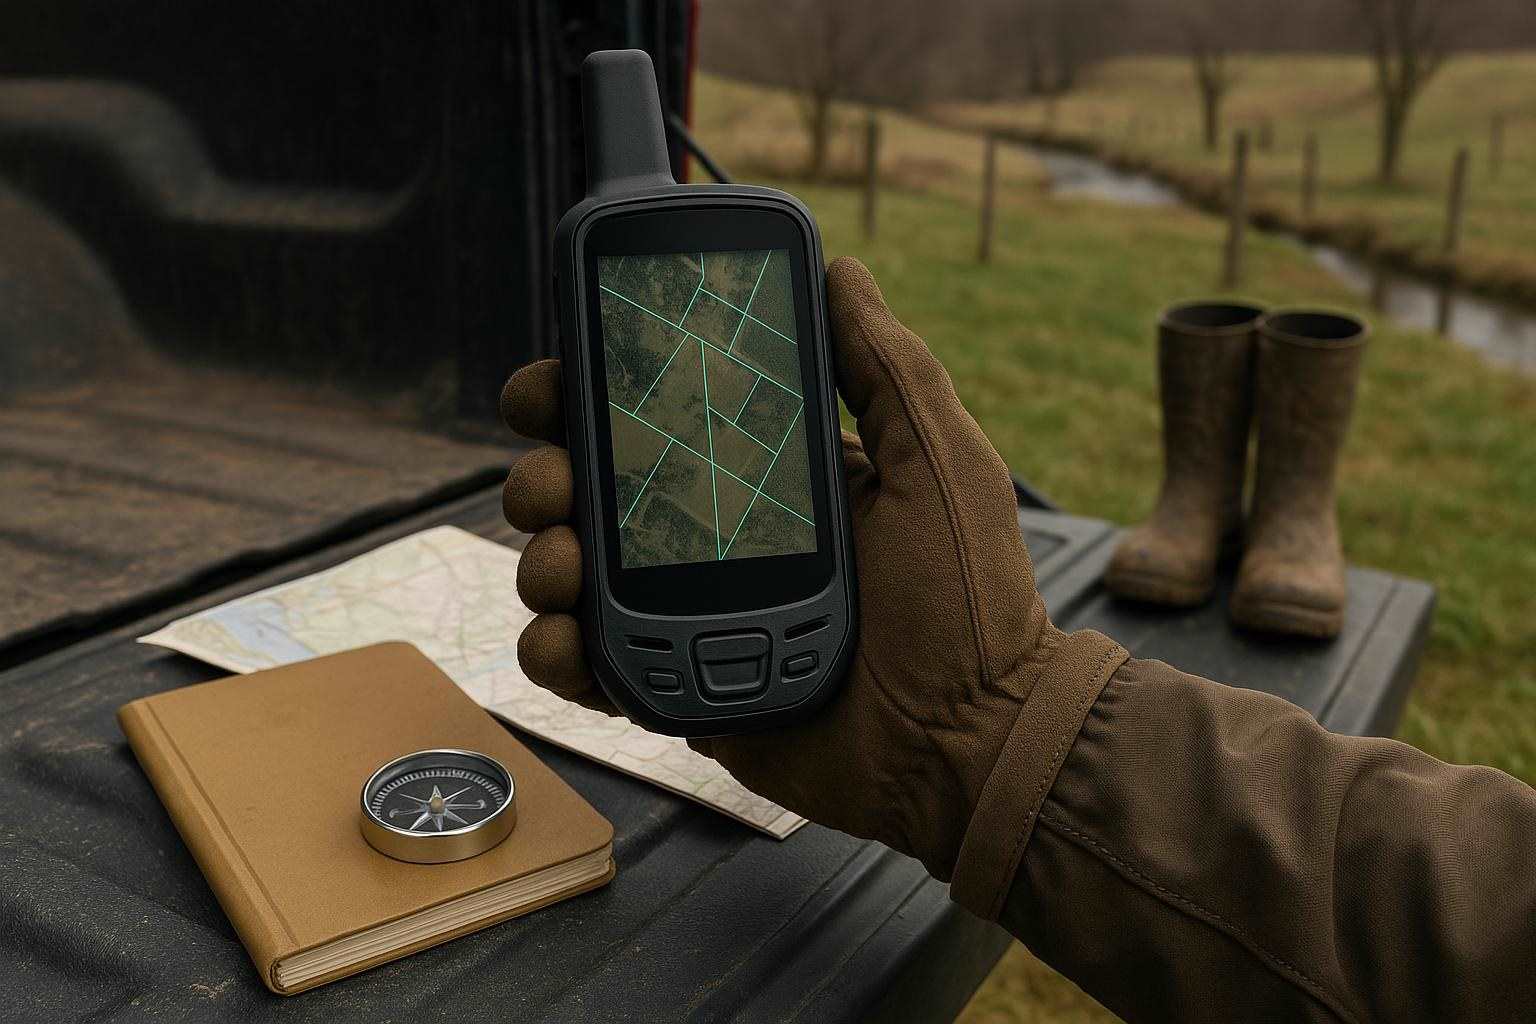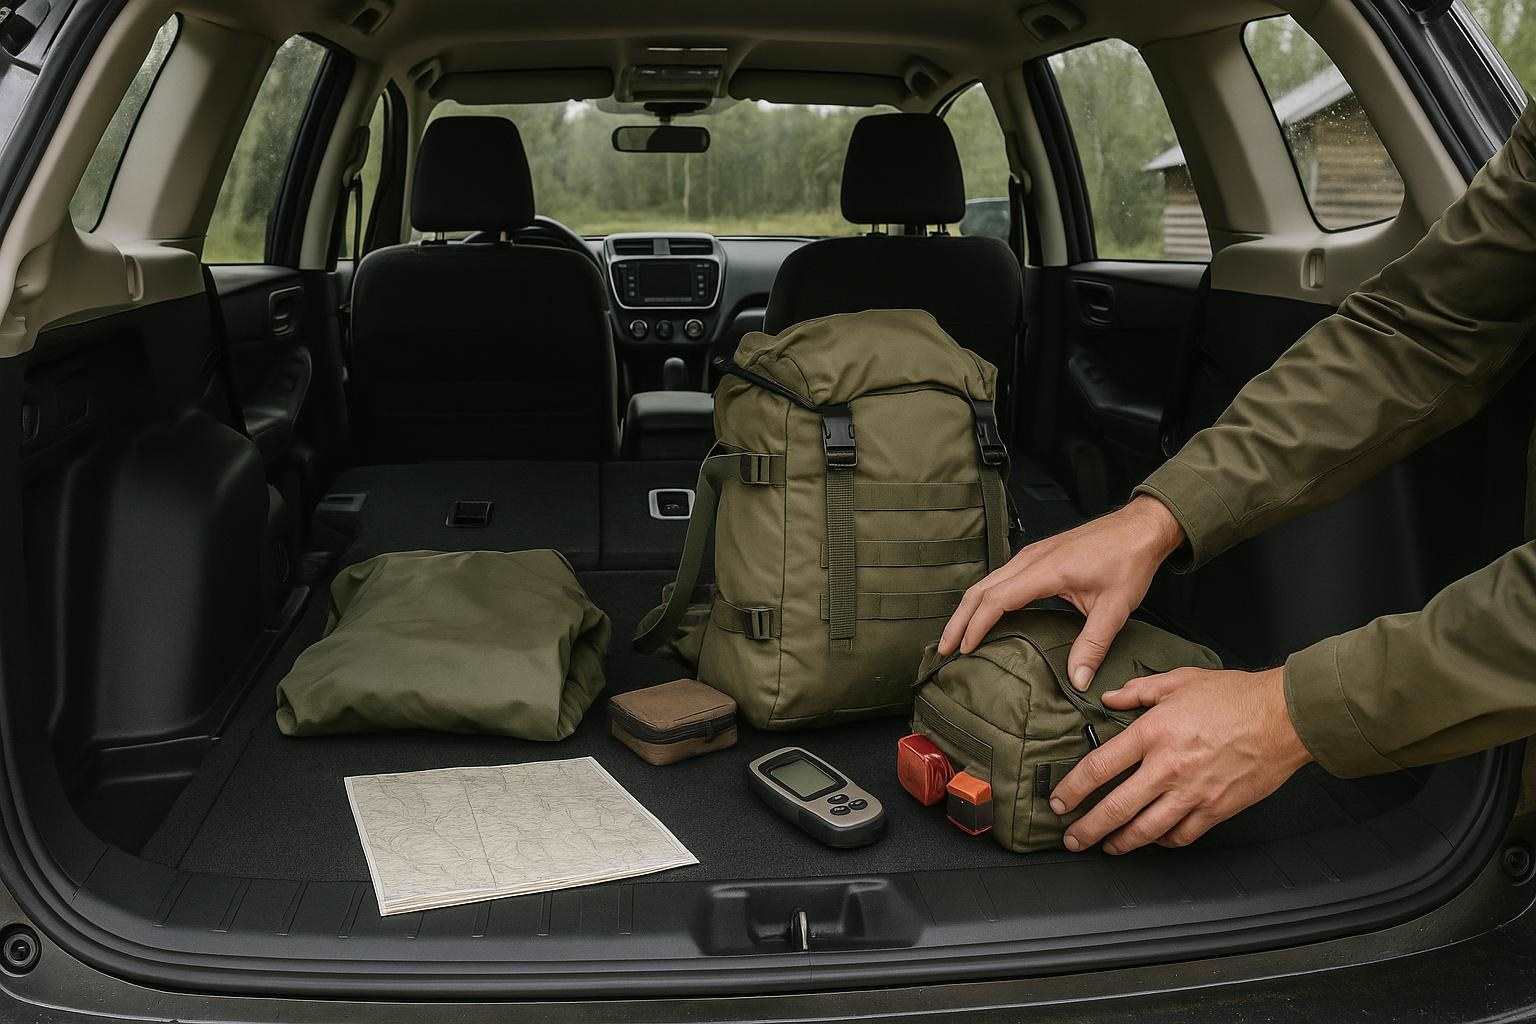
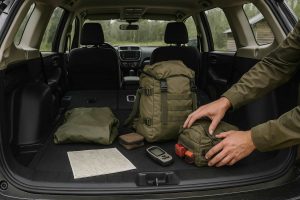

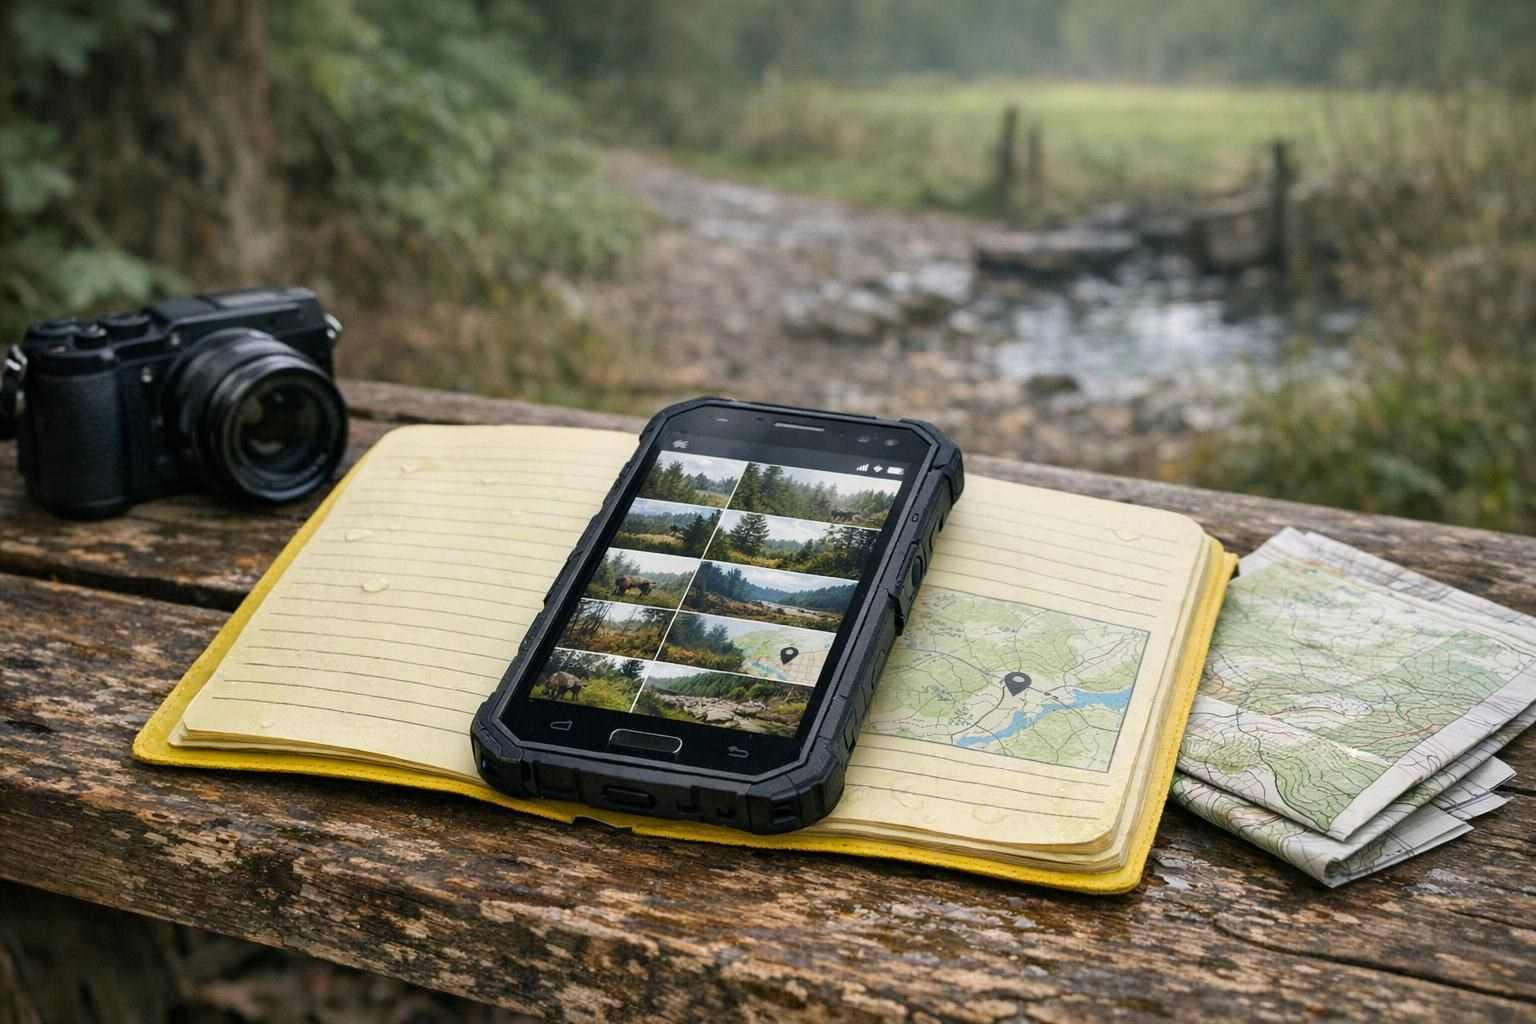
If you take pictures of external observations of the state of your trail, stand and surrounding habitat then these need to be collated and have relevant information tied to each picture. Disorganizing your trip pictures with a simple name like "2013/02/23" will mean that all of the relevant information in these images will most likely be lost forever. I've got a simple system that can be put into place almost immediately. It's not rocket science but has to be simple enough to be able to be used under extreme conditions.
Organizing Starts Before You Hit the Trail
Assign a label for a trip before it happens. This can contain the season, location, activity for which the images were taken. Make sure that you do not add too much sensitive location information to be exposed accidentally. Image names like `NorthProperty_DeerScouting_Fall` are good examples.
Before your trip, make a main folder for it. Then inside that folder, make four subfolders. Name them 'Photos', 'Location Notes', 'Field Journal' and 'Maps'. Your system has to be simple enough to remember and to use in a rush. That is why using the same trip label across all your files, notebook, camera and map exports is so vital.
Make sure to always use the same trip label for your notebook, camera and map exports. If you create a folder for your images before you leave for your trip, make sure to include primary folders and subfolders. Keep it simple, remember, you'll be using these in no time!
Categorizing Photos Based on Their Use
Instead of organizing your outdoor photos by date, you might organize them by how you can use the pictures in the future. For example, if you've taken photos of different types of observations (e.g., mammals, plants, insects) then you can organize the different types of photographs into different folders such as "Mammals – Tracks" (i.e. fresh_tracks_west_edge.jpg), or "Tackle and Gear – Culvert before repair". Work copies of your original photos should be labeled with themes like those above and placed in corresponding folders.
Get rid of the duplicates, private or unflattering shots, as well as poor quality photos that will not be of value for documentary purposes. Store them in a "to be reviewed" folder for a while to see if they are of value for recording vegetation or access in particular situations in the future.
These types of pictures are to be differentiated from other trip photos. Although they may also include pictures of friends and campfire situations, they have to be handled differently than management data and therefore are accompanied by notes and references as well.
Record Location-Specific Notes Promptly
Most important, don't wait too long to take and record photos, then fail to capture essential details in the accompanying notes. A good note can summarize important information to yourself within minutes or hours of taking a landscape photo, for example. Will that opening in the woods be passable when you return in a few weeks? Was the ground muddy? Were there any strong winds? These and many other details can and should be noted within hours of taking photos.
These five items are what you need to record in the note: (1) Where was this photo taken? (2) When was this photo taken? (3) What did you see in this photo? (4) What were the conditions like when you took this photo? (5) Why is this important? Just recording the five items above will suffice to help you remember the circumstances later. There is no need to record the five items above in any special format, as long as you can read them later.
When writing down observations in the field for later reference it is helpful to immediately link the note to the relevant image(s) for the trip. You do this by referencing the filename(s), the frame number(s) or both in the body of the note. Photos that relate to a single feature (such as a rub) should be referenced in a single note even though there are multiple images included in the note. If you are uncertain, add a question to the note, such as "Possible rub, confirm on next visit".
Similarly, trip-specific information recorded in a field journal (for example, access routes, natural and environmental changes to note, work to be completed, points to visit on subsequent trips) should be organized under the same label for easy retrieval in the future.
Understanding the Limits of Geotagging
Using geotagging to organize your images can also have some unforeseen effects. By linking all of your photos to specific locations, you can potentially be sharing sensitive information with strangers from across the globe. The way in which photo storage online is processed and shared is outside of our control, so we have to be mindful of how we are using geotagging.
Just remember whether your camera saves geotags for its photos and how the geotags for your photos are treated by the storage facility where your photos are stored. Images of your personal habitat might be better with the geotags on them but images that you will put on a web site will have to have the geotags stripped off for safety reasons.
Maps and geotagging should be used only as a rough guide for things such as boundary checking and safety assessment. Using geotagged data for things such as tracking seasons or specific events, recording changes in habitats, battery drain, or loss of signal over time can distort recorded location. Recommended to cross reference geotagged data with maps and complete site visits to correct any errors found.
Remember to document general locations for shared records for sensitive or vulnerable areas and keep the details for these places in private files to steward and protect the environments.
Review Your Archive Before the Next Adventure
The value of your organized archive of past trips is that it can help make you a better outdoorsman and provide a reference point for future decisions regarding your outdoor time. Use your past notes to search for how water levels have changed, how vegetation has grown, the location of previous access points, past wildlife tracks and signs of past human influence on an area's wild habitat. It doesn't take long for the environment to change. Weather, man, and the animals themselves can cause rapid change in short order.
Make a backup of your important images (including originals) and notes from a season or project at the end of said season or project. Check that the backup is stored safely and is accessible. That a backup of files exists is of little use if the files cannot be accessed.
Lastly, close out each season by adding a note to 'Next Visit' for each remaining aspect that you need to go back and photograph, repair, etc. This turns your seemingly scattered collection of images into a huge organizational resource for planning future adventures and making smart decisions along the way.